Posts, Pages and Categories
Most blogging platforms including WordPress and Ghost use the concept of a post versus a page to distinguish two types of content. It’s important to understand the difference before going too much further.

Most blogging platforms including WordPress and Ghost use the concept of a post versus a page to distinguish two types of content. It’s important to understand the difference before going too much further.
The main main reason for the site will be blog posts. With luck there will be many of these filling a long period of time, and the topics may vary within the limits of site. These will be presented by the blogging platform as a stream of new content from the main window of the site. Regular visitors will see new content here when they return.
Pages contain much more static type pages. These are meant to be almost permanent areas of the site. Examples would be an About this Site page or a biography page for the authors. This information will not change often and may be more of interest to new visitors.
Pages can also be used to power a menu system for the site. The purpose for this post is to help a friend set up a blog for use while walking the Camino de Santiago (see these articles for other posts in this collection). Details of how to contact him while there or to contribute to the charities he has chosen should go onto these permanent pages.
Categories are used in Wordpress to group related articles together. The engine will create a sub page for each category with all the individual posts arranged. Also within each post itself there may be links to the other posts in the category, although this depends on the Theme used by the site.
In Ghost (the blogging engine powering this site) the equivalent feature is called a Tag. The link to the Camino Blog group of articles uses this to group the articles together.
WordPress also uses tags to help categorise your posts and they appear to act in a similar way to categories. Think of categories as broad topics like the sections of a book and tags to identify the posts as having particular content, acting more like an index to content.
First Post
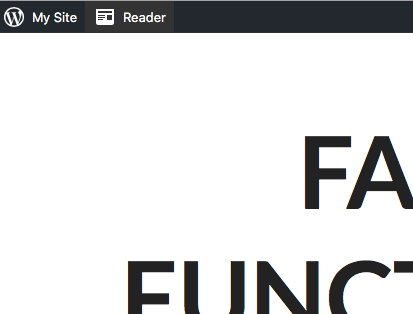
Let’s talk through the process of writing a post. Login to WordPress and go to your blog’s homepage. Click the My Site button that should be at the top left of the window
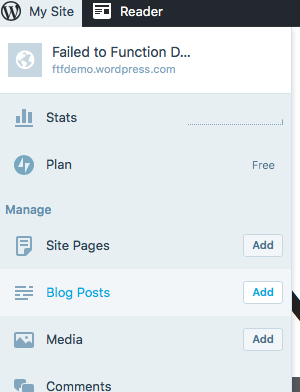
From here you can a new post by clicking the Add button next to Blog Posts.
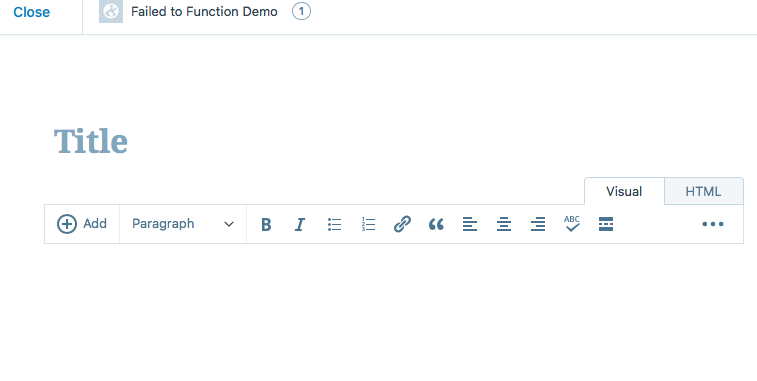
Welcome to the main editing pane in WordPress. There is a title field and a text area. If you are familiar with word processors you will recognise the menu bar for changing the text style: adding titles, making things bold or underlined, adding numbered lists, etc.
There is nothing to be afraid of! Dive in and start writing. The title will help generate the page URL so make it meaningful but this can be changed later.
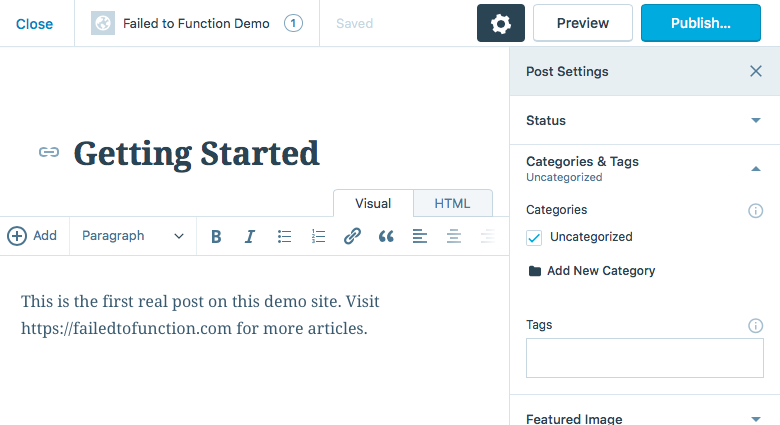
Once you have some content ready to go, there are a few things to add by accessing the settings (the cog wheel buttons will show this menu if it is not already visible). The first thing we will do is access the Categories & Tags section.
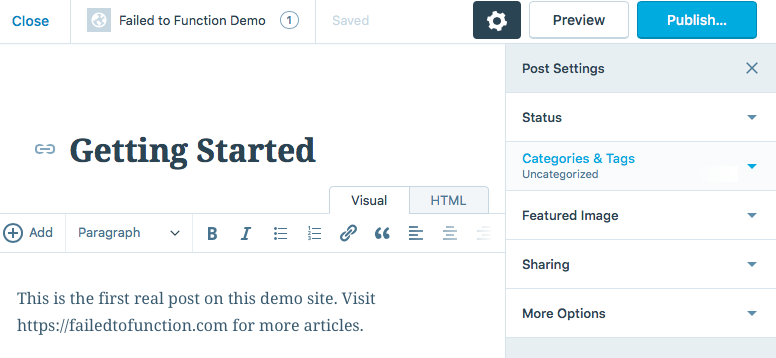
There is only an Uncategorized option. Click Add New Category to make one of our own.
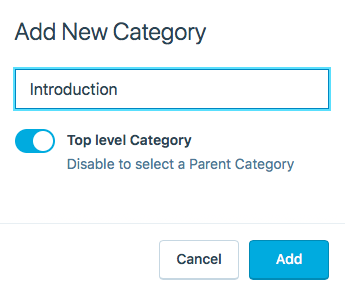
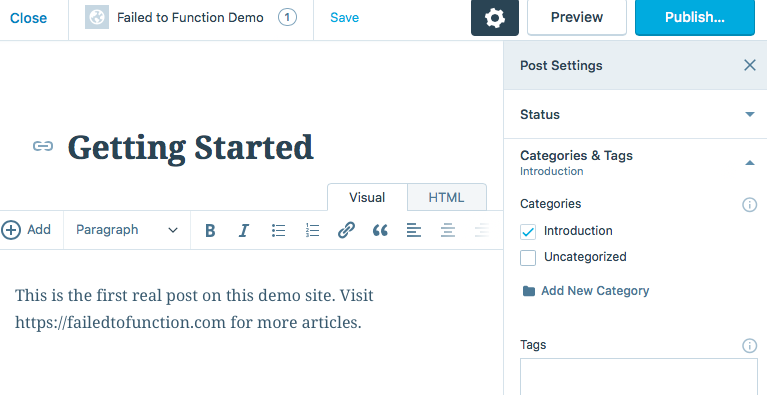
I will create one call Introduction to group all the posts with this subject together. I will leave the Top level toggle as is, since there are no other categories yet to build a tree.
Let’s publish! Hit the blue Publish button to bring up the options.
We can publish immediately by clicking the green Publish button. It’s important to remember that you need to click Publish twice to actually get it done. Once clicked everyone will have access to the content and the article will appear on the main page.
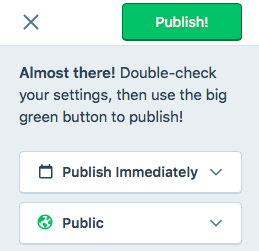
We could also schedule this to publish by clicking the Publish Immediately button. This allows us to select future date or time for the article to go out. Below I’ve selected 8 p.m. on Monday.
Click the green Schedule button to confirm or the cancel scheduling link to revert to the option to publish immediately.
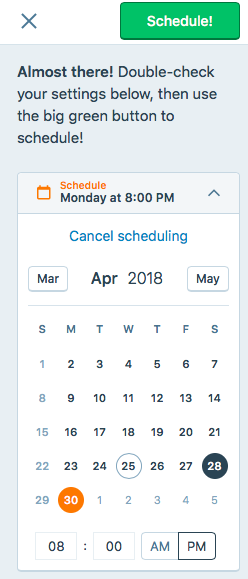
Note that you can also post a page to the past. It’s not clear why this would be necessary, possibly to preserve the correct order of posts in your blog time line. It’s possible that you forgot the second click on publish above and a post did not go out, so back dating it might be an option to rectify this.
The main view in WordPress gives you access to all existing posts and the status they are at. You will either be working on something (in drafts), have scheduled it for the future (in scheduled) or have already published.
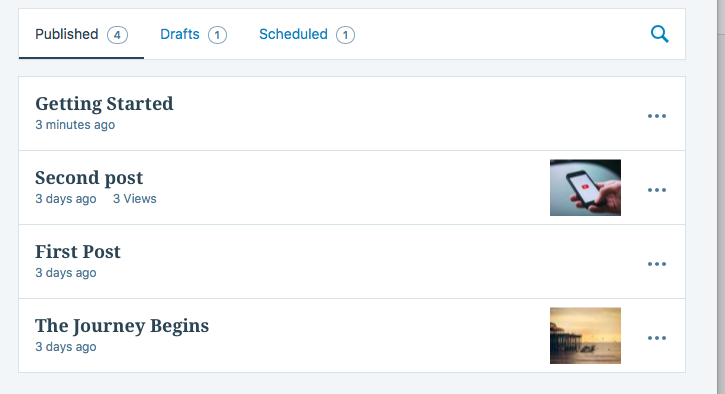
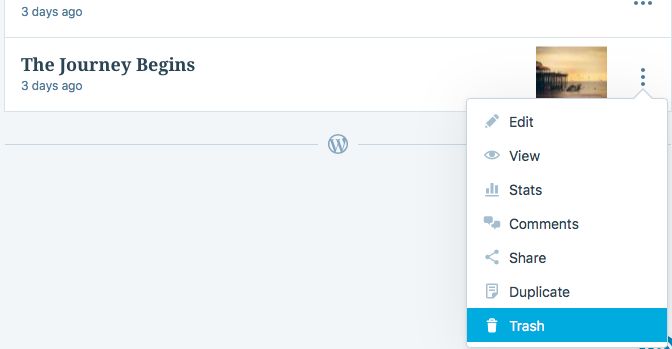
Note that if you want to remove an item, you can use the ellipsis button to the right of the posting to access the Trash option. WordPress starts your site off with some default postings; you can remove them by doing this.
That reminds me that we never added an image for the posting. Most of the themes in WordPress look better when there is a feature image associated to the post. Click the name of the post to open it and then use the cog wheel to access the Featured Image option in settings.
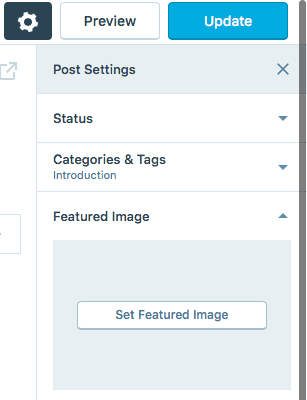
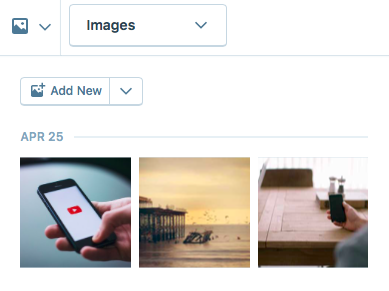
This will bring you to the Media section where images can be uploaded from your computer. If using an image from the Internet, please check that you have the right to use it before posting it. Copyright law can apply to photos and pictures.
I often use pexels or Unsplash which have a limited range of images that can be used freely without accreditation. You can also purchase images.
Pages
Pages work in almost exactly the same way as posts. To create them use the Add button on the Site Pages section of the side bar. I won’t repeat the instructions for adding one as it is almost exactly the same as before.
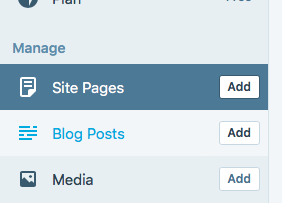
After you add some information pages, getting them to show up on the blog requires a bit of extra work. You could link to the from posts, but it’s better to give people an easy way to find them. I added a Biography page to the demo site. Now I want it to appear in the menu.
A brief introduction to themes is necessary since these determine how you site looks and feels. Themes are available for free and to buy and can give your site a unique feeling. They can be highly customisable, from setting colours to rearranging how posts are displayed.
Themes also determine how and where the menus fit. That’s what we will look at now.
You can access themes through from the left navigation menu.
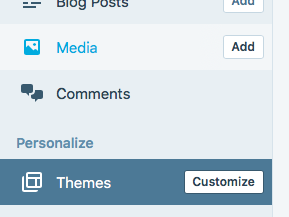
There is a large number of themes available directly from WordPress. You can filter by cost or by the type of blog that you want. I selected Intergalactic 2 as it was the first free one I liked. Hit Customize to see what options are available.
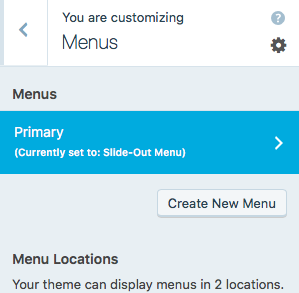
At this point I am only interested in the menu option. Clicking on it brings up the current menu.
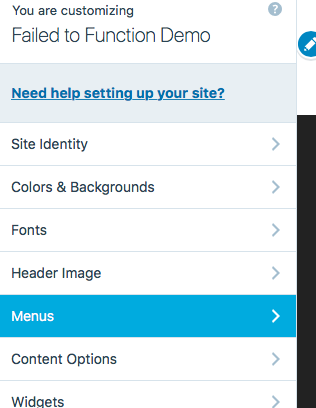
Select the Primary one to see its contents.
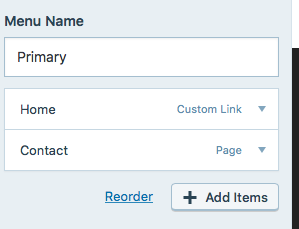
Home and Contact, default WordPress pages are the only ones there. Click the Add Items button to add a new one.
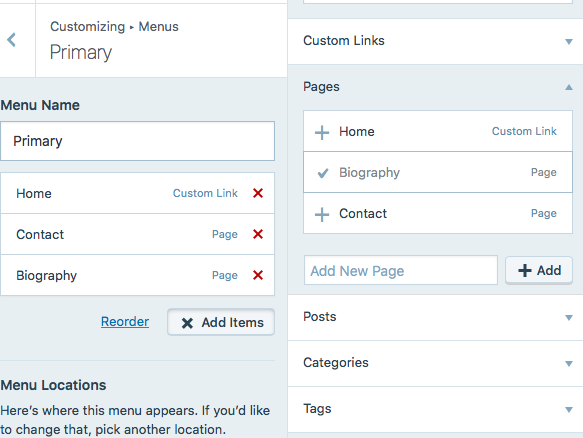
Now I can see and select the Biography page I just created. It has been placed below Contact; that’s alright but you can reorder by clicking the link shown.
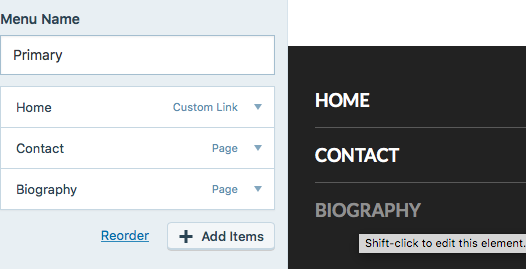
Here’s the link shown in the menu:
Conclusion
We’ve succeeded in making a blog post and creating a new category for it to appear in. Then we added a static Biography page. We’ve also chosen a theme and added a new option to the menu so that the Biography page can be accessed from any page within the site.
