Creating a WordPress Account
WordPress is by far the most popular tool for creating a blog, and has the widest commercial support for themes and plug-ins. It is easy to get started.
WordPress is by far the most popular tool for creating a blog, and has the widest commercial support for themes and plug-ins. It is easy to get started.
There are many options for hosting a WordPress blog from self hosting on your own server, where you are the one responsible for updating software and security, to a fully hosted option where all you need to worry about is providing the content.
This post concentrates on the latter, using WordPress.com to host the site. You can get up and running quickly and with no cost with a blog such as mysite.wordpress.com in a matter of minutes. If you would prefer to have your own domain name for a site, such as mysite.com, there is a modest pricing range starting at €4 per month.
Demo Site
I created a demo site to go through the steps and to show off some of the features - there is nothing to be afraid of. Let’s get started.
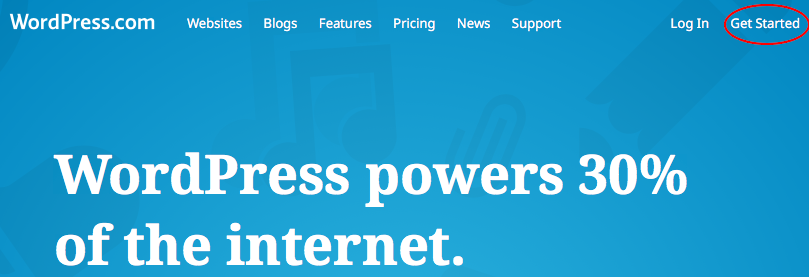
First go to the WordPress.com main site and click the Get Started link in the upper right corner.
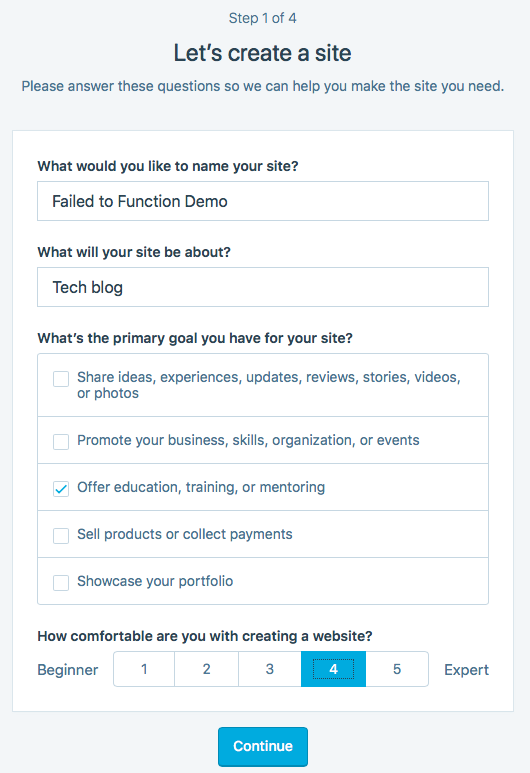
The first step when signing up is to give some basic information about the site. The name of the site will be displayed prominently throughout the blog.
If you select the beginner end of the scale, more tips will appear when you finish signing up to help you navigate around the editor.
The next step asks for a name that will appear in the URL so that people can find your blog. Note that there is a link at the bottom of this page, ”Already own a domain?”, that you can use if you have a domain name that you want to use.

Entering it here will allow WordPress.com to take over the management of that site and serve up your pages whenever it is requested.
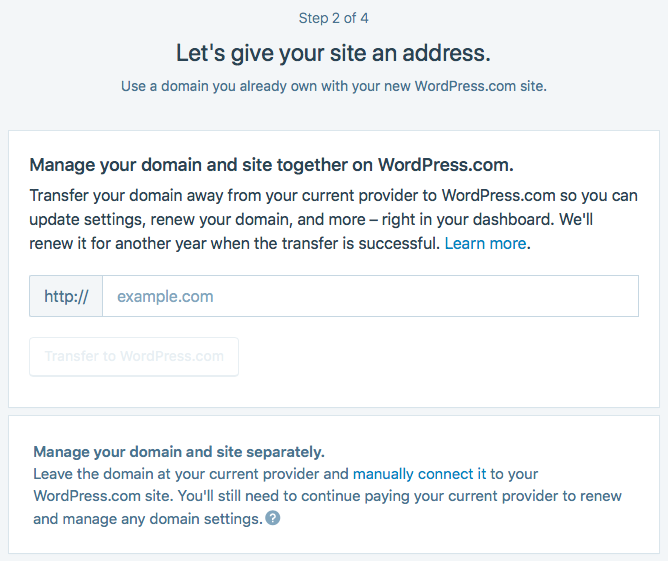
Note that this option is not free except to students - see the current pricing chart below (April 2018):

I’ve gone back to the basic screen and given my blog the name ftfdemo. I then get the option for buying a domain name or simply making it a sub-domain of wordpress.com. Since it’s free, I will choose that option.
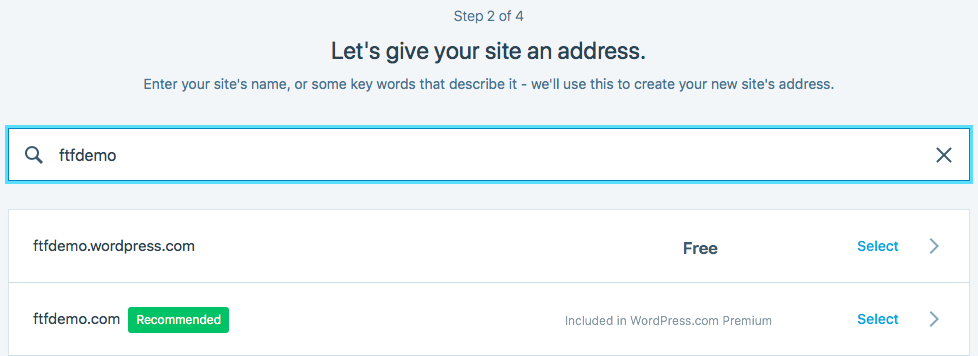
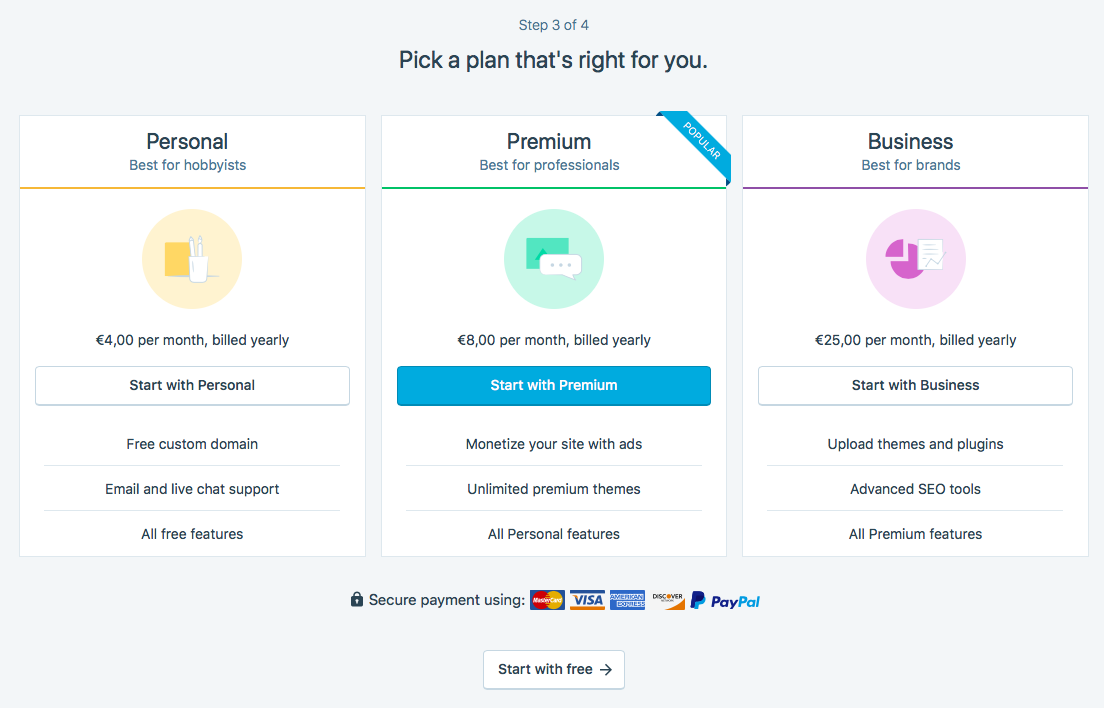
Step three allows the choice of a plan. You can use the link at the bottom to continue with the free plan.
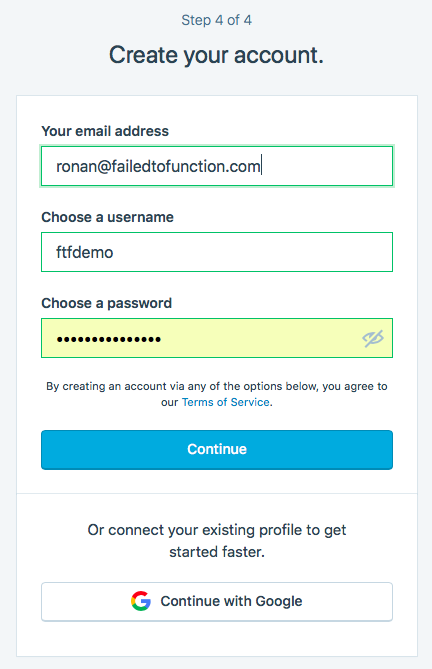
Step four is to create login credentials. Use a unique and strong password.
And that’s it finished. You will have to verify the email used to sign up by
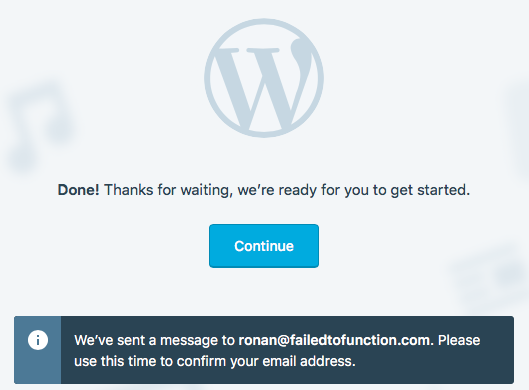
After that the site will be set up and you can start posting and sharing with the world.
Inviting Users
While you are logged in to WordPress.com, you should see a My Site button from which to access administrative access and that allows you to start posting.
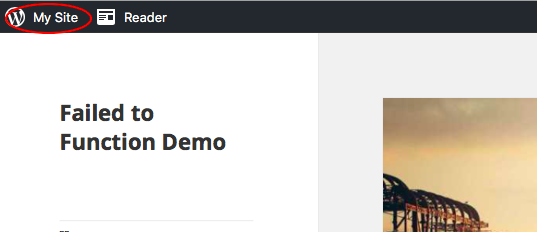
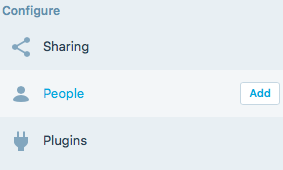
When you click on My Site a menu appears. Select the Add button from the Configure -> People section.
You need to enter the email address of the person and select a role into which to invite them. A short message can be written to personalise the request. It’s a good idea to look at the preview before sending the invite.
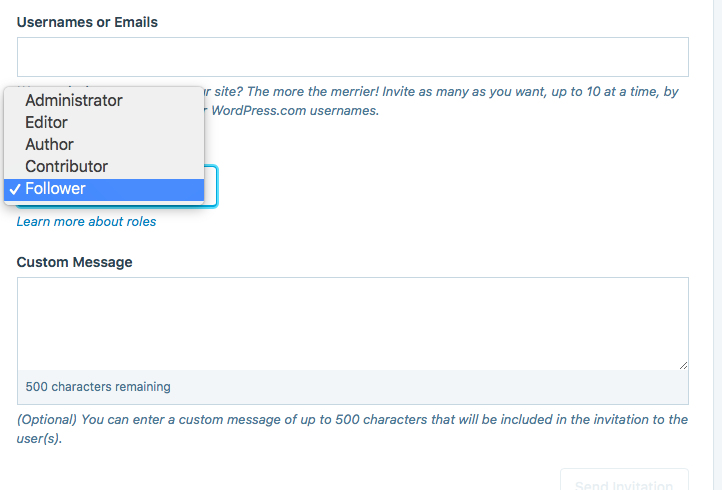
The roles each have increasing power from the bottom up with Follower being limited to commenting and Administrator having all the power. A description of each role can be found here.
In brief, if you want to allow someone to submit but not to publish, select Contributor. An Author can publish their own posts. An Editor can change another user’s post. An Administrator can change site settings.
Check back soon for a how to create your first post and creating static pages.
